During the current pandemic, a lot of people are using their extra time cooped up at home to do thorough cleaning of junk stored in their closets, attics, garages and basements and to redecorate and upgrade existing spaces or to expand and enhance their outdoor living spaces.
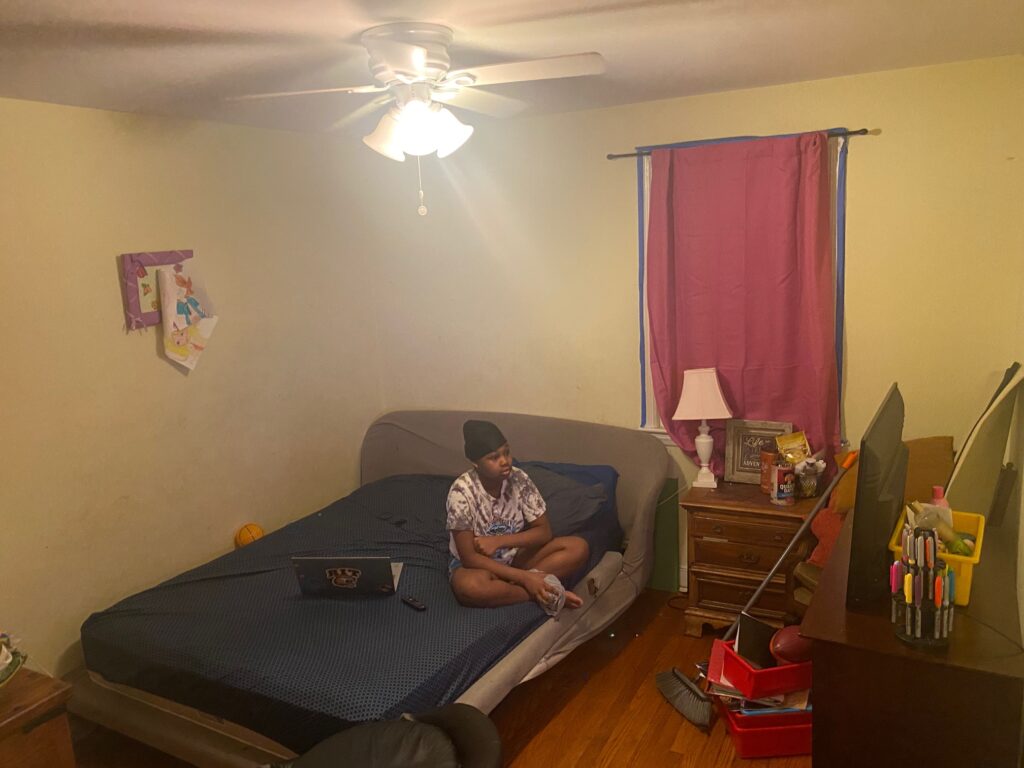
I am on that bandwagon and recently, I decided to finally upgrade the drab first floor guest room in my home which my daughter has been staying in as her personal bedroom. It lacked design and looked pretty rundown.
I wasn’t going to do it alone. My daughter had to put in some sweat equity into this project. I let her pick out the base color.
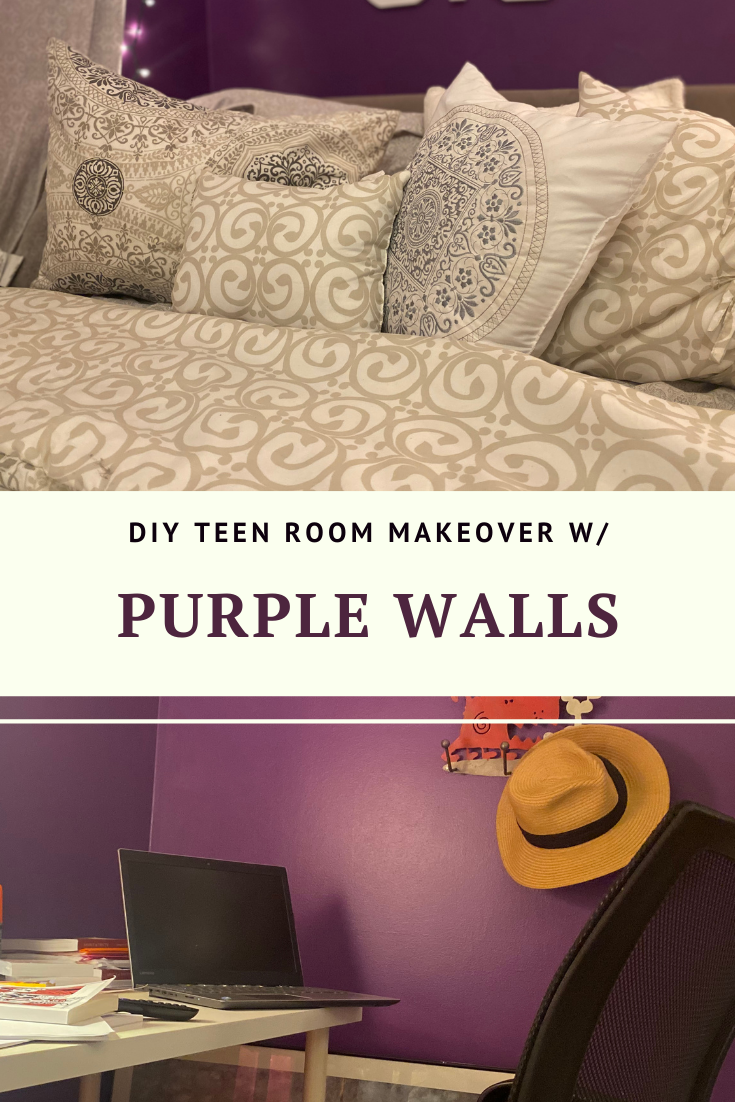
[HOW TO UPDATE YOUR DAUGHTER’ BEDROOM ON A BUDGET]
When I was a kid, my favorite color is purple and my daughter also considers that shade one of her faves so she decided that she wanted to have the walls painted purple. Purple is a color or royalty and is associated with celestial beings like the stars and the moon so we gravitated to that theme for the room.
The Budget
The total cost for the remodel: $500! Can you believe that?
My first investment was on good quality paint so I invested in the PPG Timeless brand which can cost up to $100 per gallon but gets great reviews because you only have to use one coat.
The paint has a primer built in and is supposed to go on even and smoothly so you do not need to apply a second coat at all. It was a little bit pricier than basic paint but still reasonable at $50, after shipping and tax for the gallon.

Next: Paint essentials!
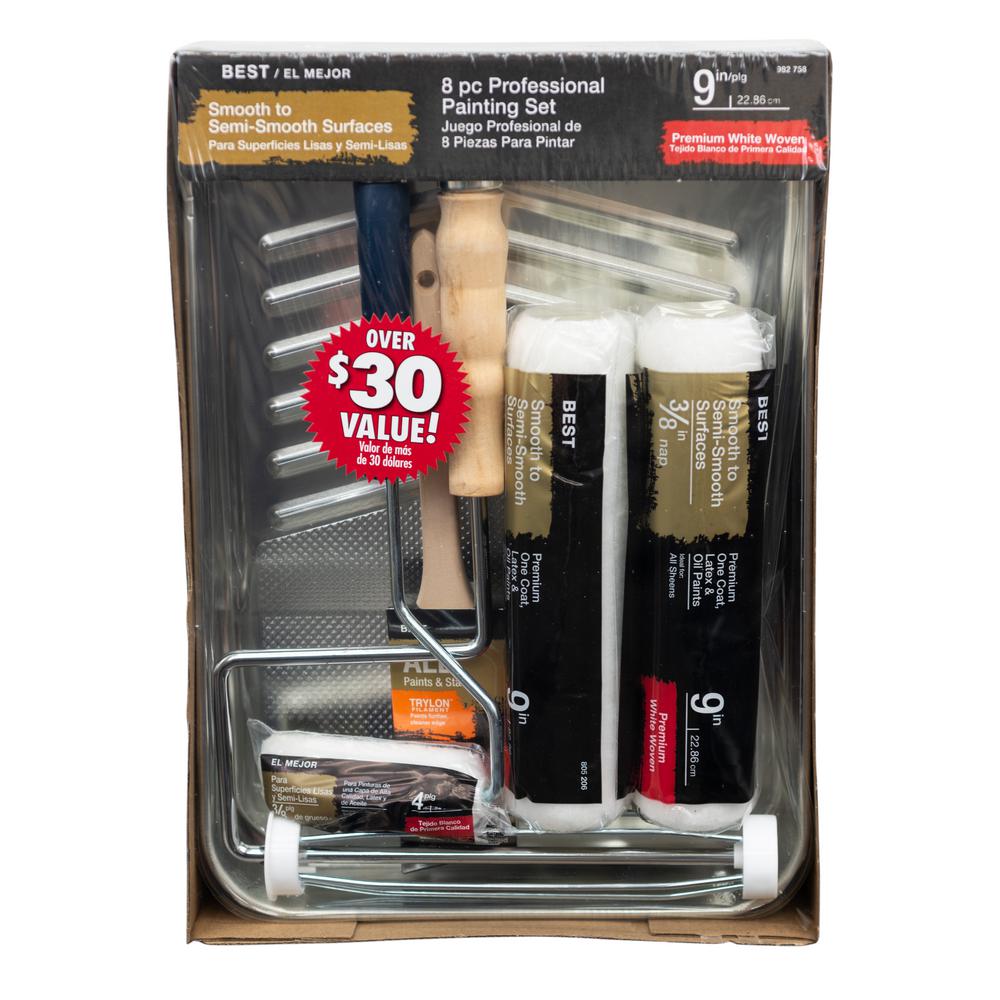
Home Depot sells a reasonably priced paint kit that comes with a tray, liner, a couple of brushes, rollers and an edge brush for about $15! That’s a steal and while not professional quality, it was perfect for a small DIY job in a home.

Furnishings and Accents
We decided to keep some of the existing furnishings in that room or use some of the items I have picked up from Christmas bazaars and thrift stores here and there. Pre-Covid era, I used to like to purchase items that are heirloom quality or top quality when I see them when out and about thrifting or visiting yard sales on the weekends.
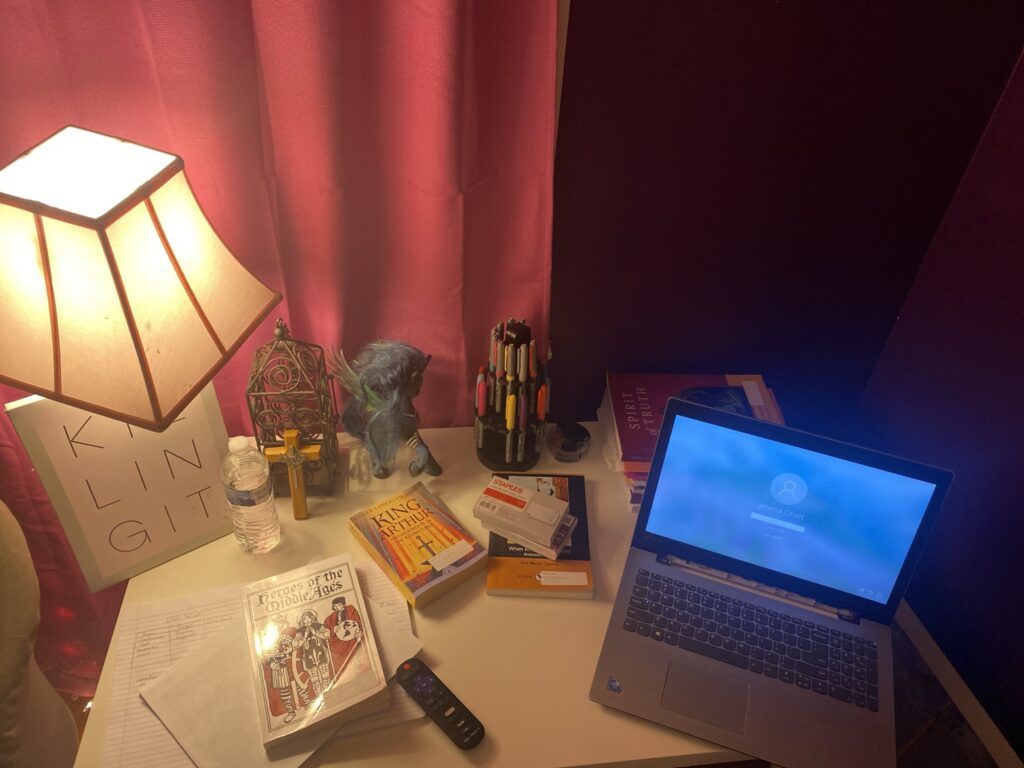
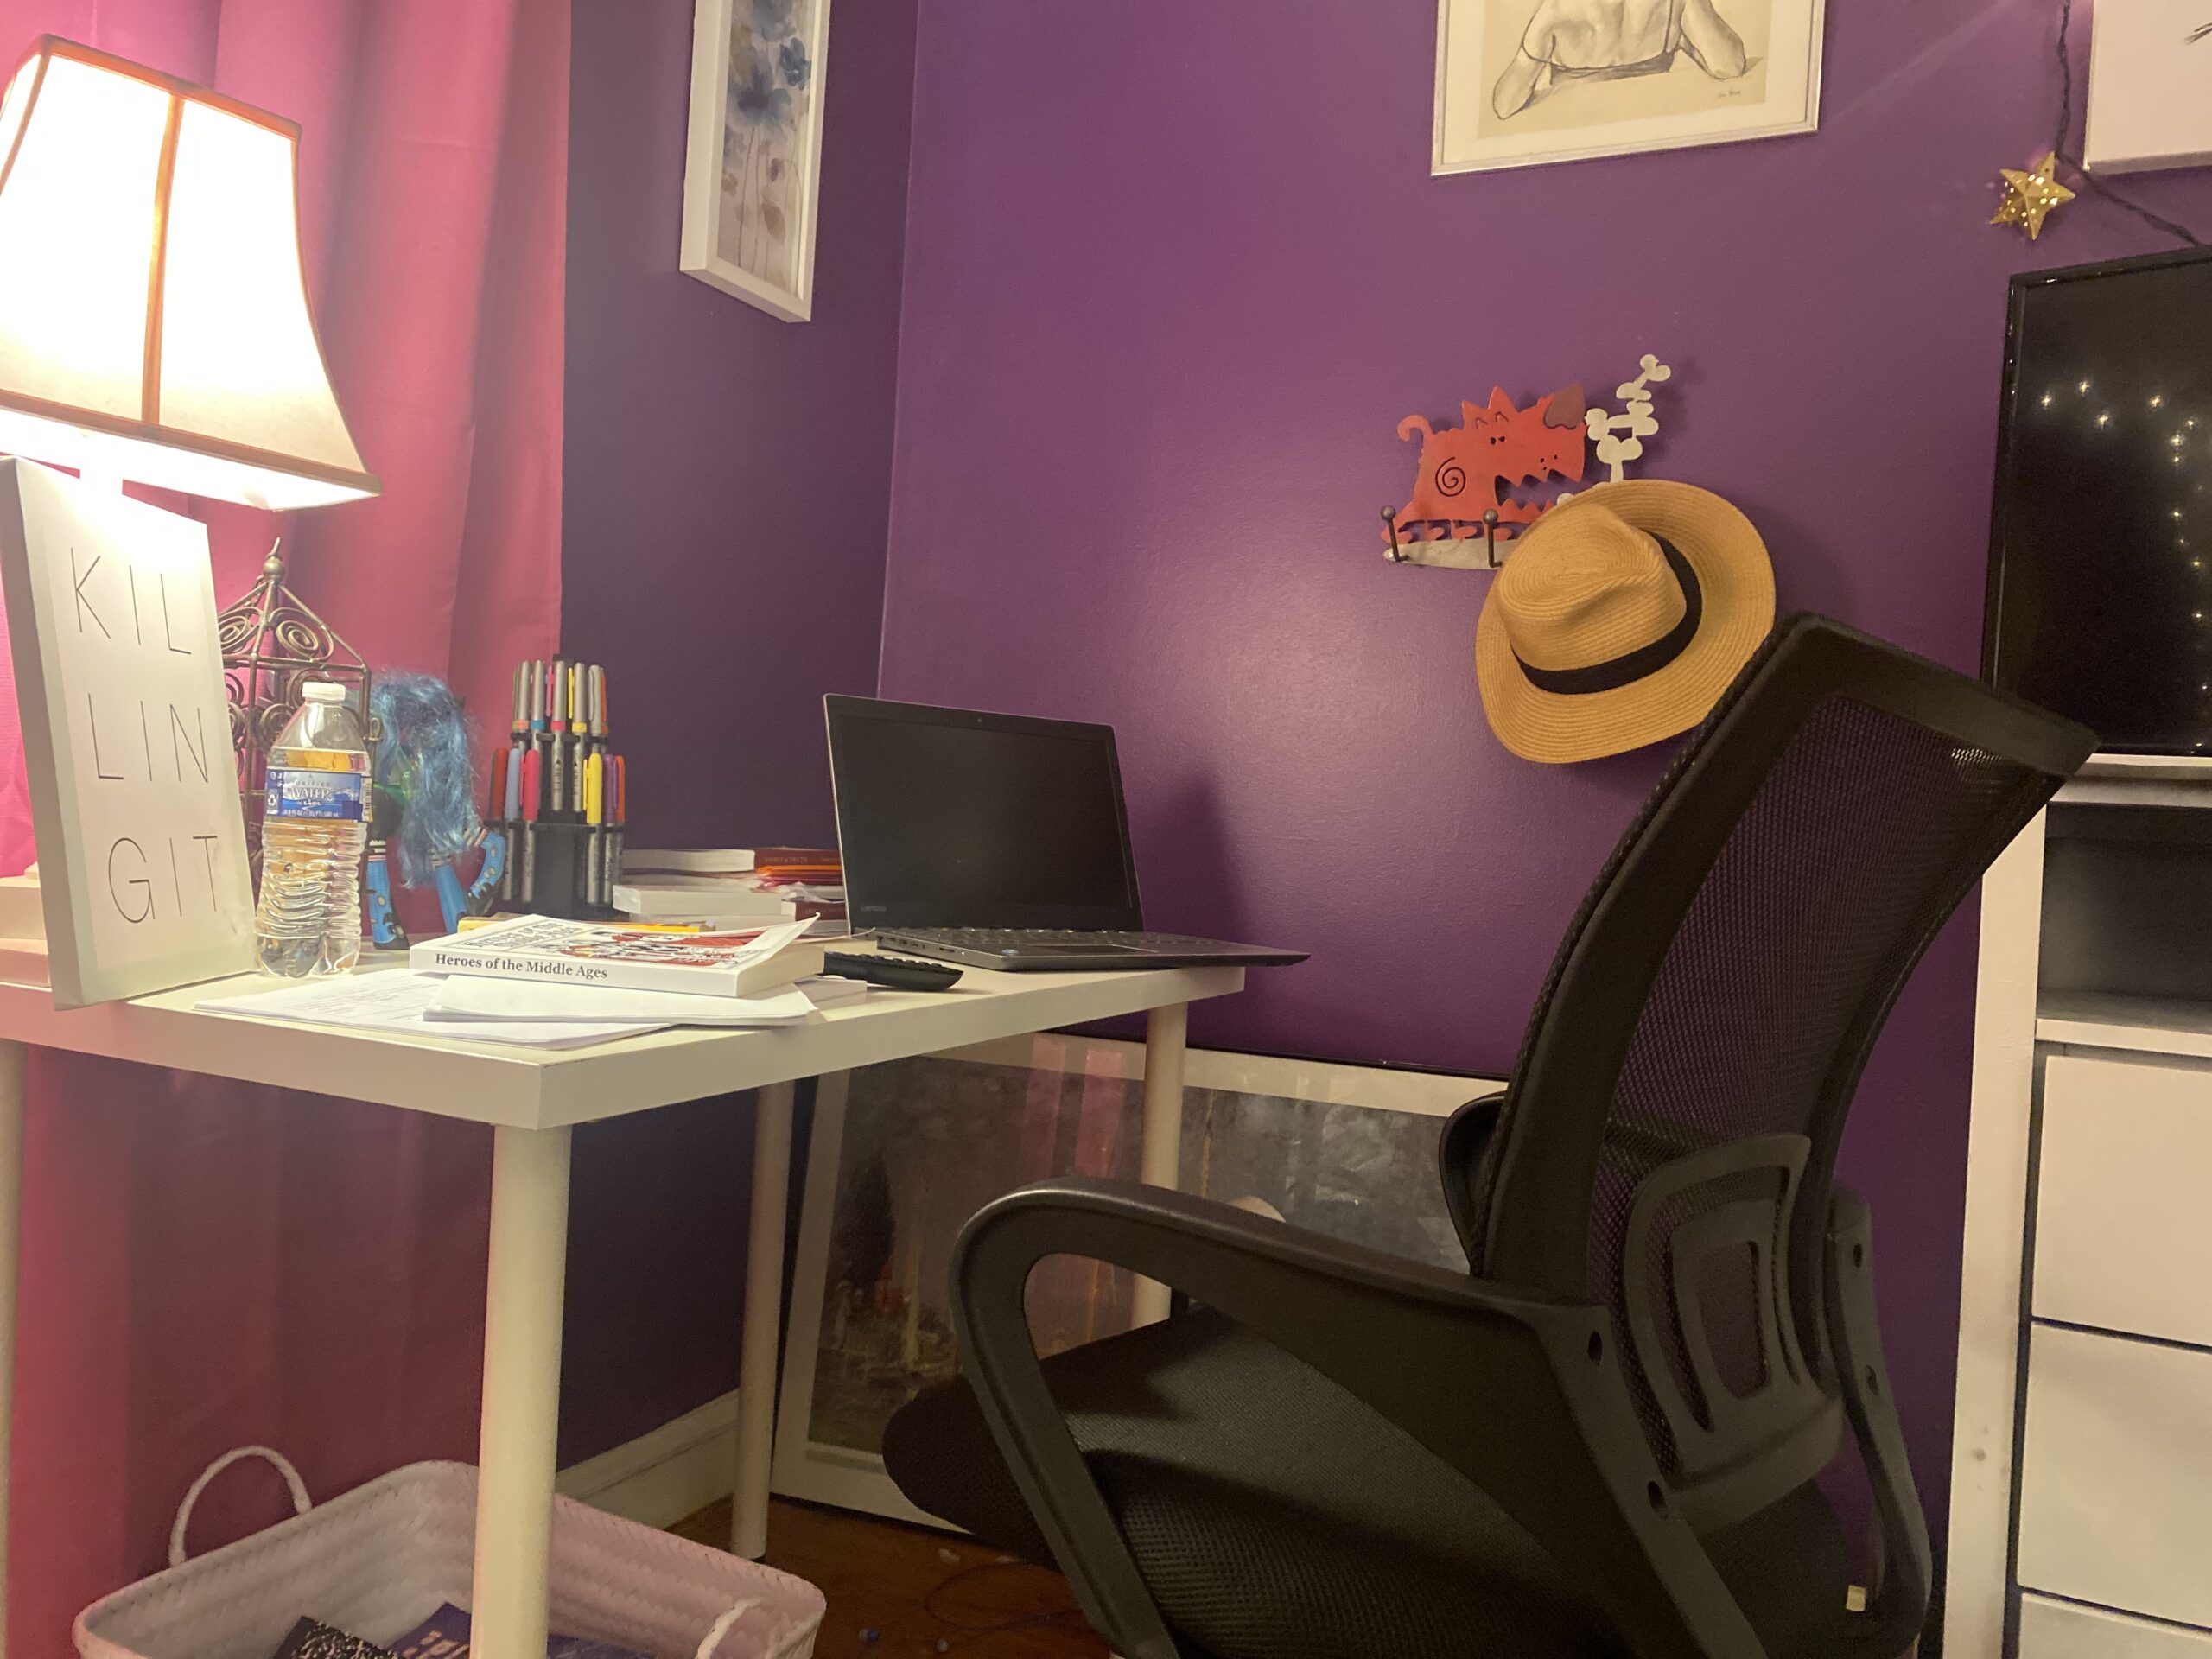
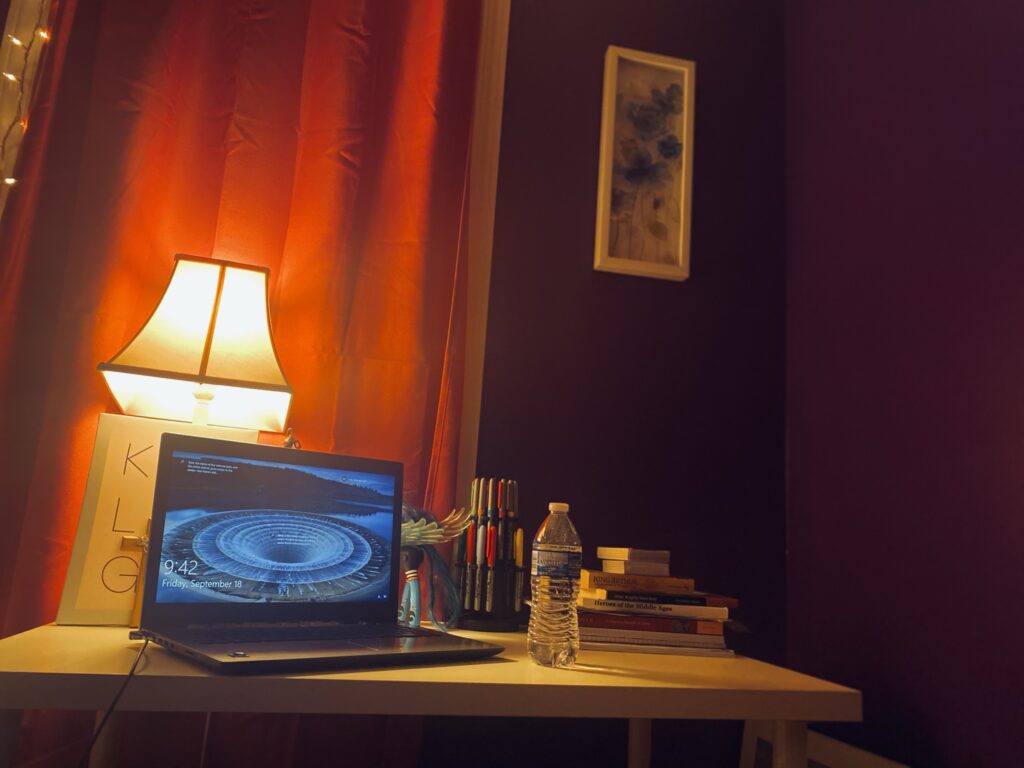
For example, I got the lamp and curtains in this photo above from a consignment shop nearby for about $7 each, or $15 total and I purchased the Ikea desk second hand for $20 from a local seller using Facebook Marketplace. It was in perfect shape!
I had previously purchased a used office chair from the same guy and he offered me the desk though he hadn’t listed it at all. Sweet!

In lieu of just an accent wall, we decided to paint the entire room purple.
The Hiccup
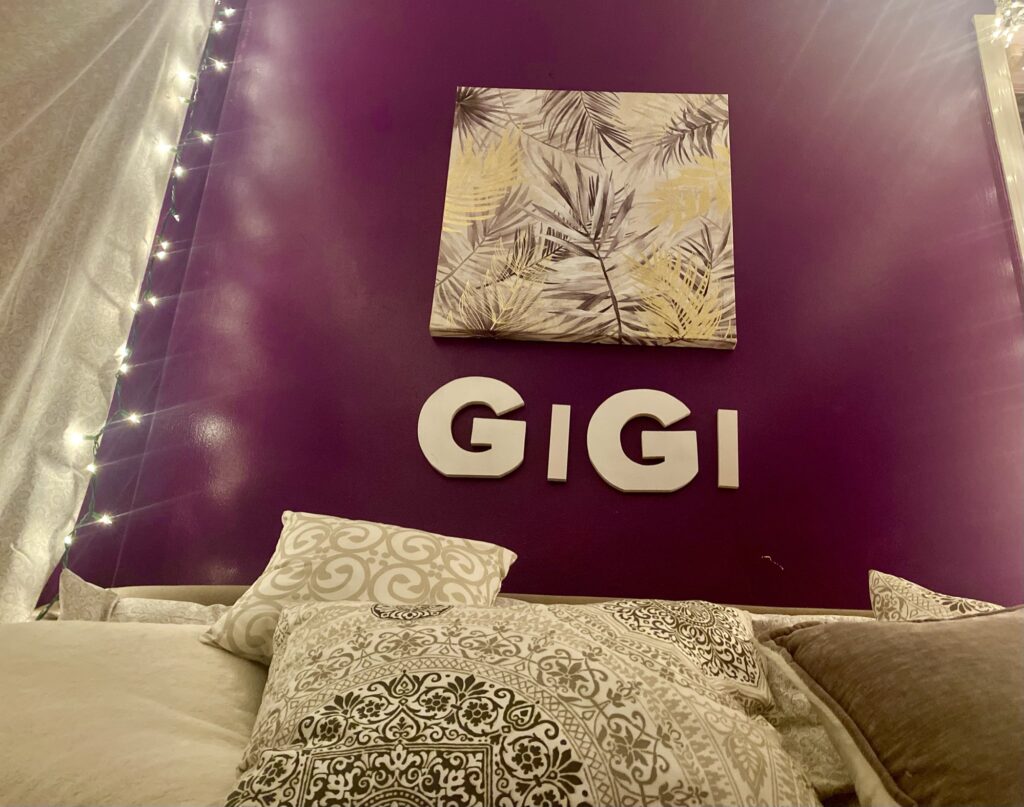
Unfortunately, we discovered when we were done that the deep eggplant color was too overwhelming and too dark. My daughter and I decided to balance the dark wall with white or light colored linen and decorative accents.
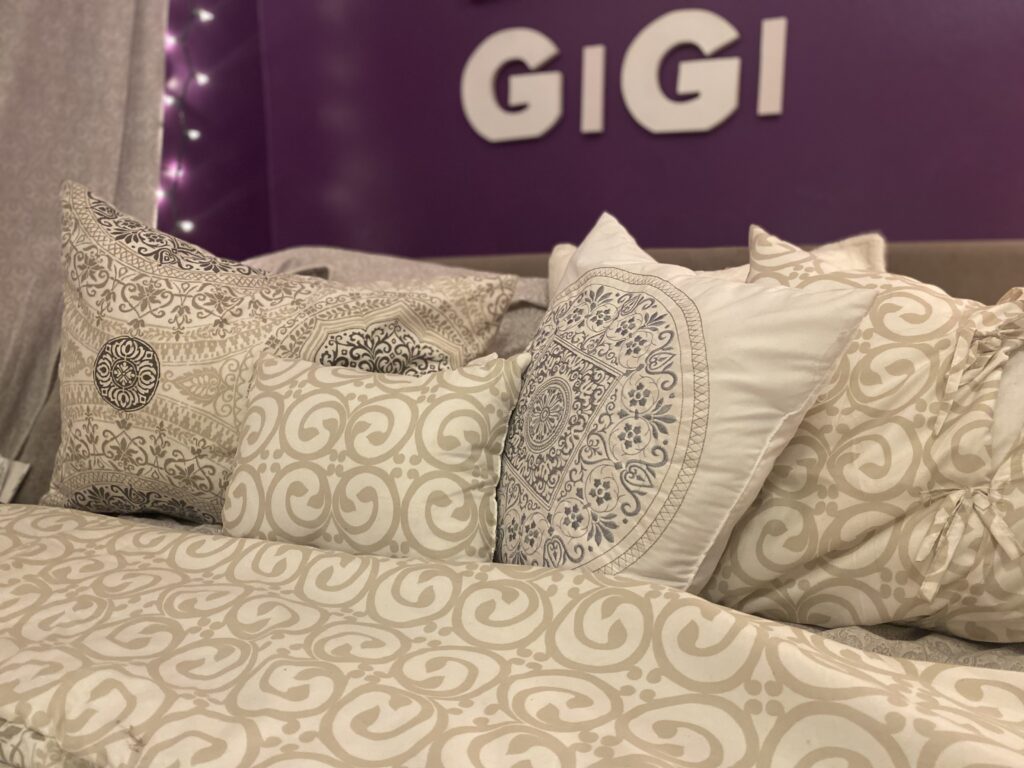
I got a bed in the bag at Marshalls for about $60 and it included two accent pillows, a comforter, a flat sheet and fitted sheet, a sham pillow and a pair of pillow cases. We got it in queen size which is the size of the bed in that room. Kohls also sells these bed in bags for twin, full, queen and King sized beds starting about that the price I paid as well.
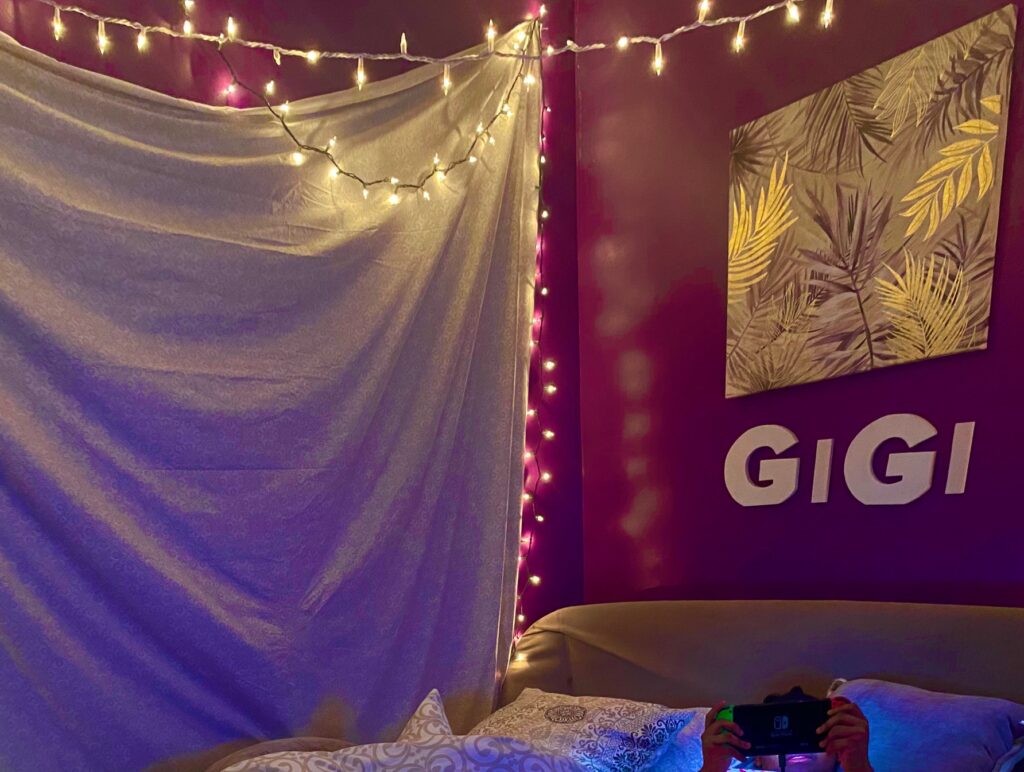
We diluted an entire wall by purchasing a white tapestry linen in a paisley print to drape that side of the room. It was only about $20 and was a popular brand, Ralph Lauren though Dormify sells plenty starting at just $11 for quality linen!

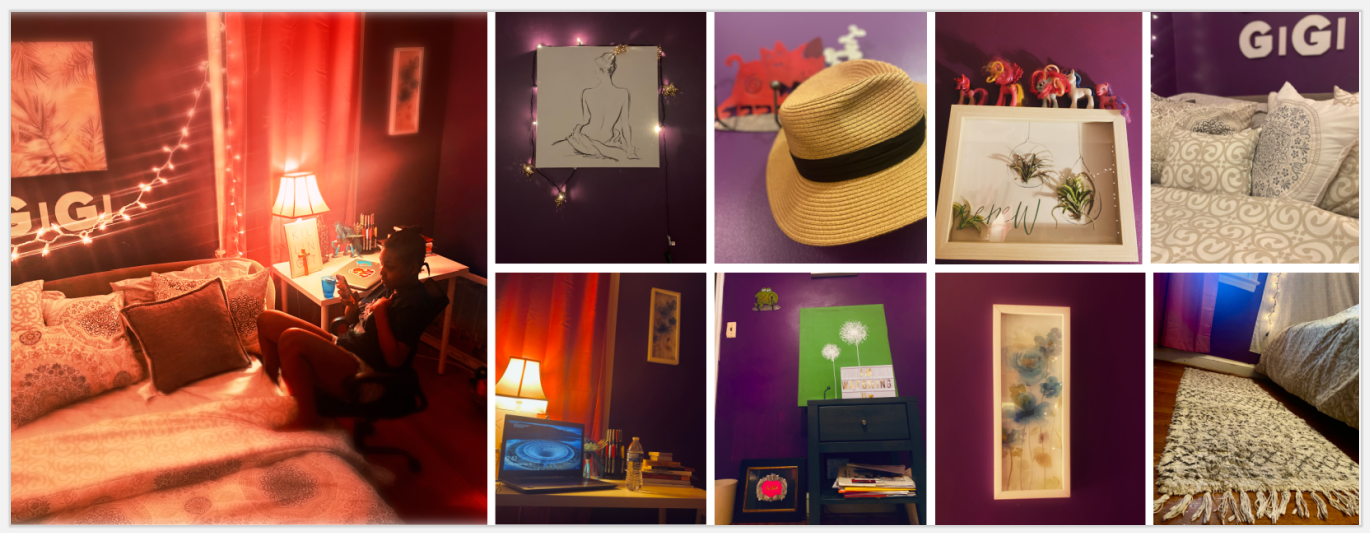
We let the celestial print in the bedding and tapestry drive the the theme and hung accent string lights from the ceiling and framed the wall and artwork framed in white with lights. The lighting also helped soften the dark colored purple walls too.

DIY Dresser Update
There was dark furnishings in the room before that we moved them out and to further lighten up the room via furniture, I decided to DIY spray paint a brown dresser in the room white. It was a bit of task because I did not have an electric sander and did not put enough energy sanding it with sand paper.
As you will see if you watch my video documenting the makeover, it was initially, a disaster because the first coat of chalk spray paint I purchased just ran over the sheen of the original paint job. Ugh!
I went to YouTube and found a video of a young lady, Desia Jean,who painted her furniture but who decided to skip the step of sanding it down first. I followed her lead and learned from her mistakes and subsequently, headed back to the store to pick up two more cans of semi gloss and that worked!


I got new drawer pulls at the home design store that had a Victorian look to them for about $2 a knob (or $8 total) to tie in with the purple, mystical, celestial theme I was going for with this room makeover.
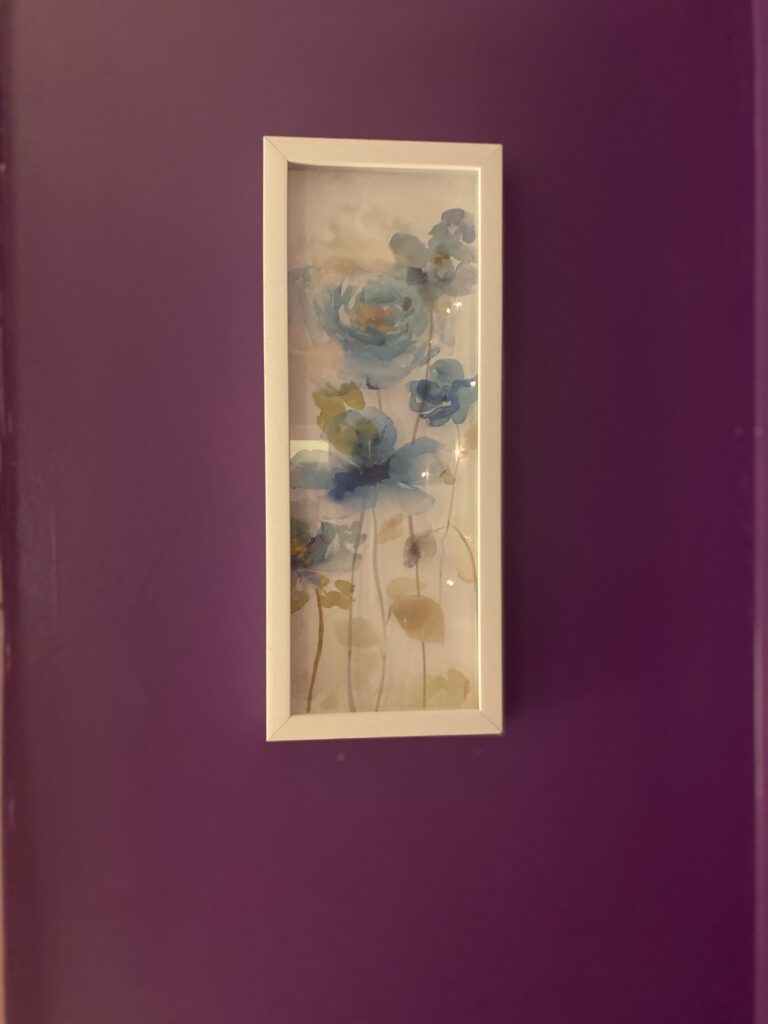
Luckily, I had already purchased some framed crafty cloth art work with green and purple in them which tied in well with the color scheme.
I went to Lowe’s and purchased a lamp shade a rustic old lamp we had in the basement for about $30 and we kept a steel grey side table that was in the room before because it blended in better with the new aesthetic than the old wooden chest and side tables that were in the old version of the room did.


Decorating the Walls
While we were shopping for the linen and accent pieces, we found a large canvas sketch of a woman’s back and I thought it matched perfectly with a framed sketch of a ballerina’s back I had in my first apartment after college.
I fetched my old artwork from the basement and hung it up next to the white canva and framed it with the star string lights. Together, the grouping matched perfectly.


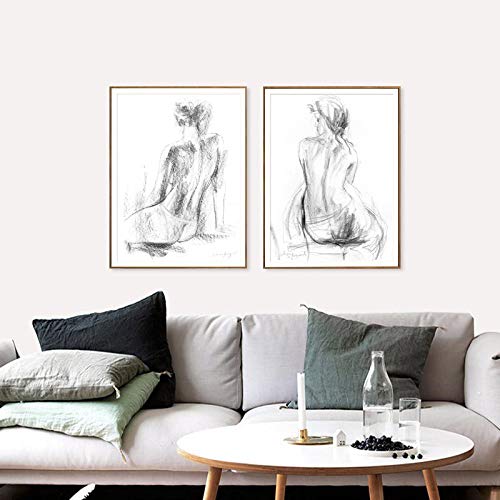
We got three other pieces of white framed artwork that cost about $15 each.

Finishing Touches
Finally, we picked up a couple of accent area rugs in white with a print and a light gray one at TJ Maxx for about $20 each and found the same brands online for similar price or slighty higher so I felt I got a steal, as usual!


I got wooden letters from the home modeling store and painted it white with the left over spray paint. The cost of the letters were abour $30 and the Command strips ran us about $20 for a few packs to hang up everything.
I got replacement blinds for about $40 for the pair at Home Depot as you can see in the video, the ones in the room in the before images was beat up and a hot mess!

The total output for the entire project is about $450 and maybe a little more. We love how it came out and it is a far cry from how it looked before! You’ll see it in the video of the project below but first a few other photos:

WATCH THE OFFICIAL VIDEO